Monday, August 27, 2012

The Momo Way ...

A recipe straight from the Mountains with love.


I can almost visualize a cozy Hotel area in the lap of the Himalayas when anyone talks about  Momos (Dumplings). It is to be enjoyed with spicy Sambal (Sauce) made of fiery dry red chilles and a generous amount of garlic and steaming clear soup. It is incomplete without these two condiments. I will get to the clear soup & the Sauce in another post. For now, take a look at these dumplings, made them for the first time. An old friend had come over for dinner and I decided to make these starters. However, was disheartened hearing she was not fond of them as by then I had all the ingredients ready. Nevertheless, I made them & served. The best moment of that rendezvous after 1.5 years was, she exclaimed ‘I love Momos from now’ .. YAY! That definitely was one of the best compliments I got for my Culinary trials.

This experiment will remain incomplete without the mention of a friend, Ms R, who sitting in Taipei (now under red alert due to natural disaster, Typhoon and earthquake, her only way of connecting to the rest of the World is the Internet as even phone lines have been suspended and flights have been cancelled) gave me instructions over Facebook chat, thanks a million Ms R :) who blogs here. Let's pray she gets back home safe.

Here is what we will need to make Chicken Momos : (The following proportions will make 22 decent sized Momos with good amount of filling in each one of the dumplings)


  1. Minced Chicken – 500 gms
  2. All Purpose Flour (Maida) – 3.5 cups
  3. Salt to taste
  4. Pepper to taste
  5. Onions – 2 medium – finely chopped
  6. Chillies – I used medium ones, 4 red & 4 green. We like them HOT! Increase or decrease the heat as per taste.
  7. Garlic – about 10 medium cloves
  8. Ginger – As shown in the picture.


  1. Steaming hot water.
  2. Cooking Spray / Oil

To make the dough I kneaded 3.5 cups of all purpose flour with salt & pepper with steaming hot water.  Be careful and do not burn your fingers. (Hot water makes the dough very soft). Once done, I drizzled a few drops of cooking Oil and coated it, covered and let it rest for about 30 minutes.


For the filling: Make a smooth paste of the ginger, garlic and the chillies with little water & keep (Entirely up-to taste, you can chop them fine & mix to the minced Chicken as well).

The next step here is entirely upto the cook to judge. I am finicky about my filling remaining underdone at the end hence I sautéed the filling in 2 tsps of Extra Virgin Olive Oil (any other unflavored cooking oil can be used too). This step can be omitted and the filling can go inside the dough raw and still should be cooked at the end of the process if steamed properly. I will try the latter next time.

I dropped the chopped Onions first into the hot Oil, then the Ginger-Garlic-Chilli paste, then added required quantities of Salt and Pepper. Added the minced Chicken at the end and mixed thoroughly. Emptied into a plate and set aside.


Now let’s get back to the dough & give it one final knead. Make equal sized small balls from it (refer to the picture)


Once done, roll out the small balls, one at a time, to small roundish flat breads.


Put some filling in between & with your fingers bring the edges together (like that of the pleats of a Saree) & give it one final pinch to seal. (Every time I added the filling, I had to take the filling mix in my palm & squeeze it to get rid of any moisture, if this process is not done the moisture might puncture your dumplings). 


Place them on an oiled surface while you roll out some more. Other shapes of dumplings are found in the restaurants too, but I did not try any other shape as I was too skeptical to experiment when my guest was already in the drawing room chatting up with the Hubby.

The tricky part is what to steam your dumplings in. I was not confident about making them in the Microwave Oven with the Vegetable Steamer that I have (do let me know if any of you have tried that). What I did was, I used my Rice Cooker. I had put water where we normally put Rice, topped it with a steel Colander oiled with cooking spray (otherwise the base of the dumplings will stick to the surface of the Colander), placed the dumplings on the Oiled surface. Cover with a glass lid and let it steam.


NOTE : If you can make sure, the water inside the Rice Cooker has come to a boil (like I did) starting to steam the first batch, then the dumplings will take 5-6 minutes on one side, turn with a tong (don’t use your hands, they are very hot at this time) & steam for 3-4 minutes on the other side. 


Once done, remove and serve with the condiments mentioned earlier. If you want to eat them later, you can use an insulated box and Microwave them for 30-45 seconds before eating. Do not chill them in the refrigerator, as once all purpose flour hardens up, it is very difficult to get the softness back. Enjoy your Chicken Steamed Momos on a cold evening and dream of the Himalayas as I did.

Thursday, August 23, 2012

Cabbage Curry - A Simple Indian Vegetarian Dish

A couple of Chapatis along with ‘Badhakopi-r torkari’ (Cabbage Curry) & a dessert is what Maa often serves for dinner  at home. She continues to do the same when she comes over to live with me once a year. I, on the other hand, by no means is an admirer of Badhakopi or Cabbage at all. But that does not matter ..  As, if I am given a choice, I will banish all vegetables ; I hate all of them, equally!  From as long as I can remember  I have always had this overpowering apathy for vegetables. But as it happens to all, older, wiser blah blah .. :D


‘He’ is a bigger champ ..  the one or two Veggies that I can seldom compel myself to gulp down, he does not even eat those. Hence both of us had to do some adjustments as one cannot live on Meat & Eggs on all days of the week. (Read-Yes, I can :D).  So here is the Badhakopi-r Torkari from what I can remember  (Yes, I have a bad memory – that’s why I write this blog – to get back to these recipe’s when my memory gives up – which it almost on all occasions, does)


So here is what we will need to make the Bandhakopi-r Torkari or the simple Cabbage Curry for 2 people for 2 meals :


1.       Cabbage – ½ of one medium sized.
2.       Potatoes – I had small ones, I cubed 4.
3.       Green Chillies – 3 to 4 slit.
4.       Green Peas – a handful.
5.       Tomato – 1 medium, quartered (don’t worry about the size, it will disintegrate in the process even if you add it whole)


6.       Ginger – 1 big knob like in the picture – I grated it.
7.       Cinnamon – 1-2 small stick like in the picture here.
8.       Green Cardamoms – 3
9.       Black Cardamom – 1
10.   Turmeric Powder – 1 tsp
11.   Garam Masala Powder – 1 tsp
12.   Red Chilli Powder – 1 tsp
13.   Panch Phoron – 1 tsp (This is a Bengali tempering  5 spice mix which has equal portions of Fennel Seeds (Mouri / Saunf), Fenugreek Seeds (Methi), Nigella Seeds (Kalonji), Cumin Seeds (Jeera) & Black Mustard Seeds ) For reference see the picture.


14.   Salt to taste.
15.   Sugar to balance (optional)
16.   Mustard Oil / Cooking Oil
17.   Ghee / Clarified Butter – to drizzle on top once done for additional flavor. (Totally Optional as this is to taste)


How I did it :


-          Heat Oil in a Kadhai / Wok.
-          Add the Panch Phoron mix once Oil is hot.
-          Add the slit green chillies and the whole garam masalas too with the turmeric powder. Let it sizzle.


-          Add the Potatoes & fry for 3-4 minutes.


-          Add the Cabbage and cook, you will see the cabbage reducing in volume as it is getting cooked. Add the Peas.


-          Add the Tomatoes.


-          Add the grated Ginger – cook till Tomato starts disintegrating.
-          Add Red Chilli Powder, Salt & Sugar.
-          Pour water and bring to a boil.


-          Let is cook uncovered for about 15 minutes so that all the veggies get cooked properly.
-          This is a complete dry preparation, we do not want this watery. Hence make sure all the liquid evaporates.


-          Drizzle the Clarified Butter or Ghee and server with Rotis.


I served it with spiced up Raita with home made Curd & Multi Grain Rotis.


Wednesday, August 22, 2012

Chingri Maacher Malaikari - Prawns in a rich coconut milk gravy

Had the Prawns sitting in the Freezer for 3 days now. Today, I just had to give them some justice. What better than the Mother of all Prawn recipes, The Malaikari! Quickly checked my stockpile  for some Coconut Milk, found some Maggi Instant Coconut Milk Powder :| though I would have been happier making it myself but ‘He’ was too lazy to help me crack the whole Coconut sitting in the Freezer  .. Hence I decided Maggi ready-made Coconut Milk Powder it is! I was already day-dreaming succulent prawns dipped in the rich milk!


This is what we will need :


1.       Prawns cleaned and de-veined – 500 gms.
2.       Onion – 1 large – made into a coarse paste in a blender.
3.       Maggi Instant Coconut Milk Powder – I used one 150 gm pack
4.       Turmeric Powder – ½ + 1 tsp
5.       Red Chilli Powder – 1 tsp
6.       Green Cardamoms – 3
7.       Cinnamon – 1” piece stick
8.       Cloves – 3-4
9.       Bay leaf – 2-3
10.   Green Chillies – 3-4 – slit
11.   Ginger – one big knob – grated
12.   Garlic cloves – 3 medium – grated.
13.   Mustard Oil
14.   Sugar to taste
15.   Salt to taste

And here is how I made it :


-          Smear the Prawns with Salt and Turmeric and keep aside for about 15 minutes.


-          Coarsely pound the cinnamon, cardamom & cloves and keep.
-          Heat  2 cups of water in the Microwave for 30 seconds and mix the Maggi Instant Coconut Milk Powder and keep.
-          Heat Mustard Oil in a Pan & lightly fry the Prawns  about 3 minutes on each side.


-          The fat will separate here. Do not cook the Prawns too much, as we still need to cook them in the gravy and if overcooked they will become rubbery.


Once done transfer into a different plate and keep clicking like I did ! :D


-         You can use the same oil or keep this oil for adding a little later as I did as this has a lot of flavors.
-          Put the coarsely pounded Garam Masalas in along with the bay leaf.


-          Add the Turmeric.
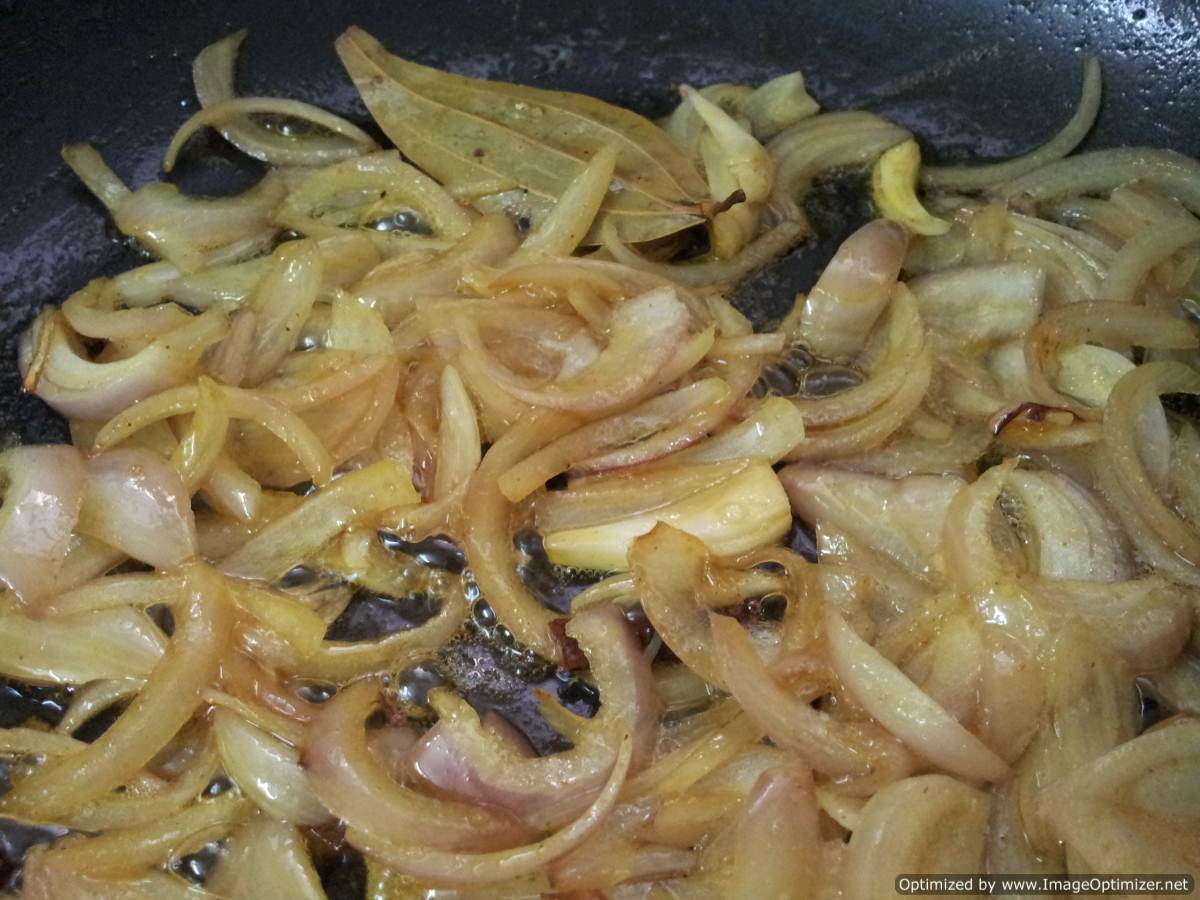
-          Add some Sugar as the Onions go in next – add the onions and cook for about 5 minutes, do not burn them!


-          Add the grated ginger and garlic and cook for another minute or two.
-          Add the red chilli powder and add salt.
-          Now pour in the Coconut milk & oil with which the prawns were fried here, let it come to a boil and then simmer.


-          Add  the Prawns and cook for about 5-7 minutes.
-          Switch off the stove once you reach desired consistency in the gravy.


-          Serve with plain white rice.

Dim er Dalna .. The Bong Egg Curry

Sis in Law said the other day, ‘Ekhane hasher dim i pawa jaaye naa, koto din Dim er Dalna khaini’ (We can never find Duck Eggs here; have not eaten Egg Curry for so long). Yes that’s how we Bongs are. Even when we eat Egg Curry we need the fattiest Eggs of the lot, Duck Eggs. You normally do not get these gets all year round, mostly around winter; these are available that too not all stores keep them. Back home, Babai (My Father) gets them from some vendor only he knows of. I also remember seeing these little girls carry the precious oversized pearls to our house to sell in a little cage like box.  Gone are those days, those chilly winters, Babai rushing to get these Eggs whenever I craved for them, gone is the little girl and the Duck Eggs too!!!


During our first hunt for Duck Eggs, we found some ‘Country Eggs’ at Reliance Mart and bought them without realising those were actually just plain Country Eggs, ‘Dishi Murgir Dim in Bangla’ !! We started hunting again and finally our prayers were answered by this lovely Parsi store, Dorabjee’s. This time we made sure it read 'Country Duck Eggs', they really looked like these big pearls & we have not been so happy in a long time. :D


Once we reached home, I boiled a couple to check if the yolk was really Orange & YAY, it was!! So now I had to make the Dim er Dalna that dear Sis-In-Law had embedded in my mind, which we were longing for since the mention of it.


Here is what you will need to make it:


1.       Eggs – 4 – hard boiled.
2.       Potatoes – 2, cut into quarters.
3.       Onions – 2 – medium – chopped.
4.       Tomatoes – 2 medium – chopped.
5.       Bay leaf – 1
6.       Green Cardamom – 3
7.       Cinnamon – 1“ stick
8.       Garlic – 4 cloves – grated
9.       Ginger – 1’ piece – grated
10.   Green Chillies – chopped or slit to taste
11.   Green Peas – a handful
12.   Turmeric – ½ + ½ + 1 tsp
13.   Cumin Powder – 1 tsp
14.   Coriander Powder – 1 tsp
15.   Red Chilli Powder – 1 tsp
16.   Salt to taste
17.   Sugar to taste
18.   Mustard Oil


Method:


-          Heat Oil in a Pan
-          Smear the already cut Potatoes with ½ tsp turmeric and salt and sauté them and set aside.


-          Shell the hard boil Eggs, smear with ½ tsp turmeric and sauté them lightly in the same Pan and set aside.


-          In the Oil, add the Bay leaf, Green Cardamoms and Cinnamon stick, let them crackle.
-          Add Onions with a little bit of Sugar and let them caramelize.


-          Add the turmeric powder
-          Add the tomatoes – cook for 5 minutes, cover and cook on high, stir once a while.
-          Add all the Ginger Garlic Paste and cook till the raw smell goes away.
-          Add all the dry Masalas & Salt and keep mixing.


-          I add the Potatoes at this stage as they take a long time to boil here.


-          Add the Green Peas & cook of a couple of minutes.

-          Add some water, when the Potatoes are mostly done add the Eggs, let it simmer for a few minutes. When the gravy reaches the desired consistency, turn off the stove.


-          Can be eaten with both Rice & Rotis.

Tuesday, August 21, 2012

My Saviour - My First Pakki Biryani

She was never an admirer of Biryani of any kind since childhood, could never comprehend why people craved for some pieces of Meat with bi-color Rice and a boiled Potato. However even God silently giggled when she made a face & took least interest in Biryani or how it is made. She was always more of a Chinese girl, give me noodles, even boiled would do. Then God sent him to her and her taste buds for the first time tried to take pleasure in a meal which included Mutton Biryani, Chicken Chaap & Phirni at Lazeez, Bangalore & since then there has been no looking back. She decided she is a Biryani lover .. :D


However, the City both of them lived in served Biryani which was more of a Chicken curry Rice or Mutton Curry Rice, with a weird gravy, which missed the real taste they craved for. That’s when she decided there has to be a way out and after some permutations and combinations this was the first recipe she came up with which made both of them happy. :D


Enough of their story, now here is the recipe :


For the Meat :

Marinate with Curd, Ginger Garlic paste, Onion paste, Garam Masala, Cumin powder, biryani masala, Nutmeg, Salt, Chili powder, Coriander powder and a little oil (basically all the ingredients of your choce you want in the meat, just do not make it too watery, use the thickish part of the yogurt. These are my choice of Masalas and to taste, change if you want as per your taste).

Rice :
Drain Basmati Rice till water runs clear, coat with Ghee (clarified butter), salt, Biryani Masala and set aside.

Other Ingredients :
-         Fry 2 red onions (chopped) till dark golden brown along with a handful of cashews and set aside.
-         Soak a few strands of Kesar in warm Milk and set aside.
-         Cut Potatoes into halves or cubes depending on how small or big they are, smear with salt and turmeric, deep fry them and set aside. (You can do without frying as well, however, frying adds a different crispy softness and color to the potatoes which we like) (Optional)
-         Hard boil a few Eggs, smear with salt and turmeric and fry them in oil and set aside as well. (Optional)
Procedure :

-         Add Ghee to a Pan and cook the Chicken in it till about 50 % done. For Mutton cook till about 70% done.  Do not add too much water during the process. We want the masalas to hold on to the Meat. The rest of the cooking will be done in a Pressure Cooker.

-         Once Meat is ready we can do the layering process for the Biryani in a Pressure Cooker.

-         Warm some Ghee in the vessel and add a layer of Rice.

-         Sprinkle the Kesar soaked Milk on top  of this layer to add some color to this batch of Rice.

-         Add the Eggs and Potatoes.

-         Layer the Meat on top of it.

-         Add the second layer of Rice.

-         Add the fried Cashews and Onions on top.


-         Add some fresh Cilantro and slit Green chilies if you want (Hyderabadi touch)

-         Add warm water till half inch above the level of the Rice.

-         Cook for 2 whistles and let the pressure go down on its own.

-         Once done it is ready to serve!!!

Here is a picture of the Mutton Biryani once made by her. :D