
A recipe
that I hold very close to my heart. Winters are incomplete without multiple
Koraishuti-r (Green Peas) Kochuri (Peas
Kachori) sessions in a Bengali home. I am a person who can finish Kilos of Raw
Green Peas without a single Burp! - Sorry, that was gross, but I hardly have a
choice, I need to express my love for Green Peas. The only condition is, I need
fresh ones, I completely detest frozen Green Peas, hence once we are done with
Winter, I am done with one of the precious pieces of my Heart :’(

Maa (My
Mother) makes this Kochuri’s with
much aplomb at home but I they turn out finger-licking good, each time! One
weekend, on one of the usual phone calls back home, she told me she was making
these beauties for Lunch. Once done with the call, I told ‘A’ about the same
and instantaneously we decided to make the same for Lunch here as well, though
Lunch was served at around 4 PM that day as, as it is these take a long time to
get ready + I was making them for the first time.

Note: Go slow
on the number of Kochuri’s / Kachori’s you have at one time as they are heavy
on the tummy and have high Oil content as well :P Though we hardly did, but as
a food blogger, I should pass on that extra bit of wisdom to my readers!
For
the Filling:
Green Peas –
500 gms
Green
Chilies – 2, broken from between
Cumin Seeds
– 1 tsp
Red Chili
Powder – 1 tsp (I added a pinch of Chili Flakes as well)
Salt to
taste
Sugar to
balance
Sattoo (Click to get to the wiki Page) – 2
tbsp (Optional)
Boil the
Green Peas along with the Green Chilies, drain

Put the
drained Peas & Green Chilies into a blender, add Cumin Seeds, Red Chili
Powder, Salt to taste and Sugar to balance and blend into a fine paste
Add Sattoo and use your hands to blend into a fine
mixture


Sattoo/Sattu

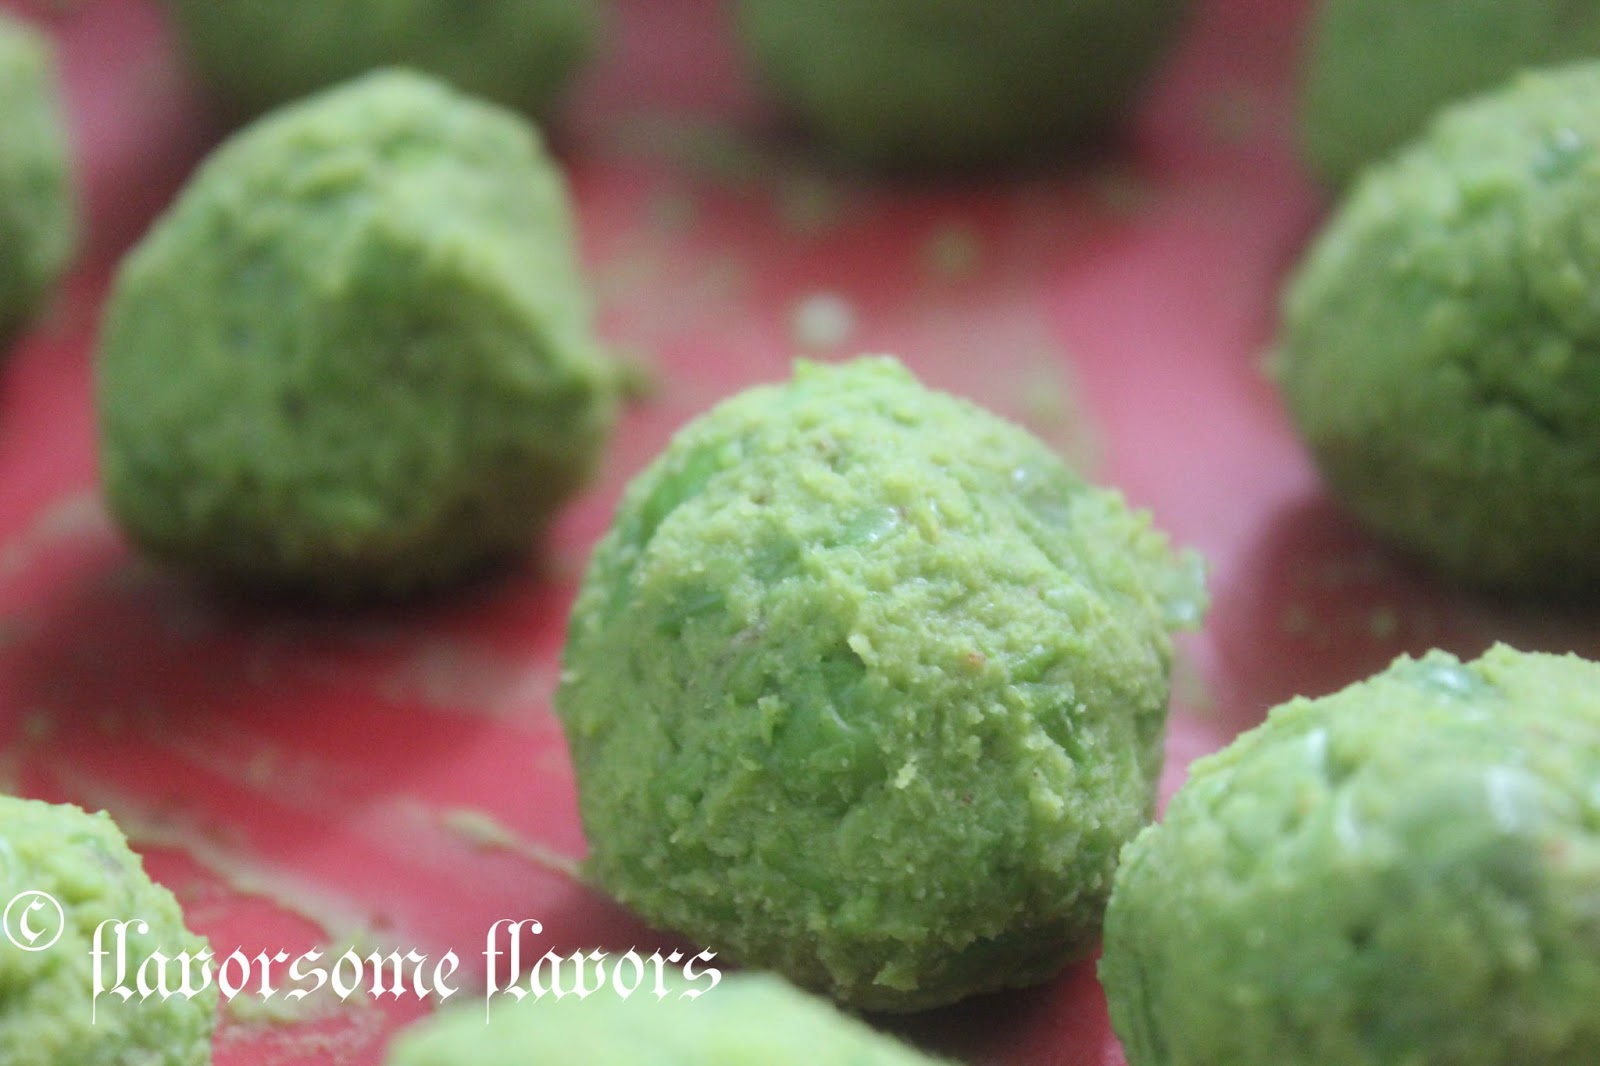
Make small
balls out of this mix (like shown in the picture) and set aside, the filling is
ready now
For
the Dough:
All Purpose
Flour / Maida – 2 cups
Cooking Oil
– 1 tsp
Salt to
taste
Sugar to
balance
Water to
knead
Other
Ingredients:
Cooking Oil
Before
adding Water, using your fingers mix the tsp of Cooking Oil into the All
Purpose Flour (I am assuming you have mixed Sugar and Salt already), add water
little by little and form a smooth dough like in the picture, cover and set
aside for about 30 minutes


After 30
minutes, Make small portions of it and keep aside like shown in the picture


Heat
Cooking Oil in a small Indian Wok
Take a
portion of the dough, roll it out like in
the picture using a little bit of all purpose flour for dusting, the less the
better as the more flour you use for dusting, the more Oil it will soak while
deep frying


Take it on your palm and fold in the sides of the
flat bread, refer to the picture

This time
dip one corner of this into the hot Oil, and roll it out slowly making as few
punctures as you can

Once done
put it into the hot Oil

Increase
the heat and see it puff up, turn using a spatula and cook the other side

Take off the
Wok and store in an Insulted container, to preserve the freshness when you
serve them

We ate with
Jaggery, many eat with simple
curries. But the less flavorful the condiment, the better as that will bring
out the flavors in the Kachori’s more


